
Auto-Assign
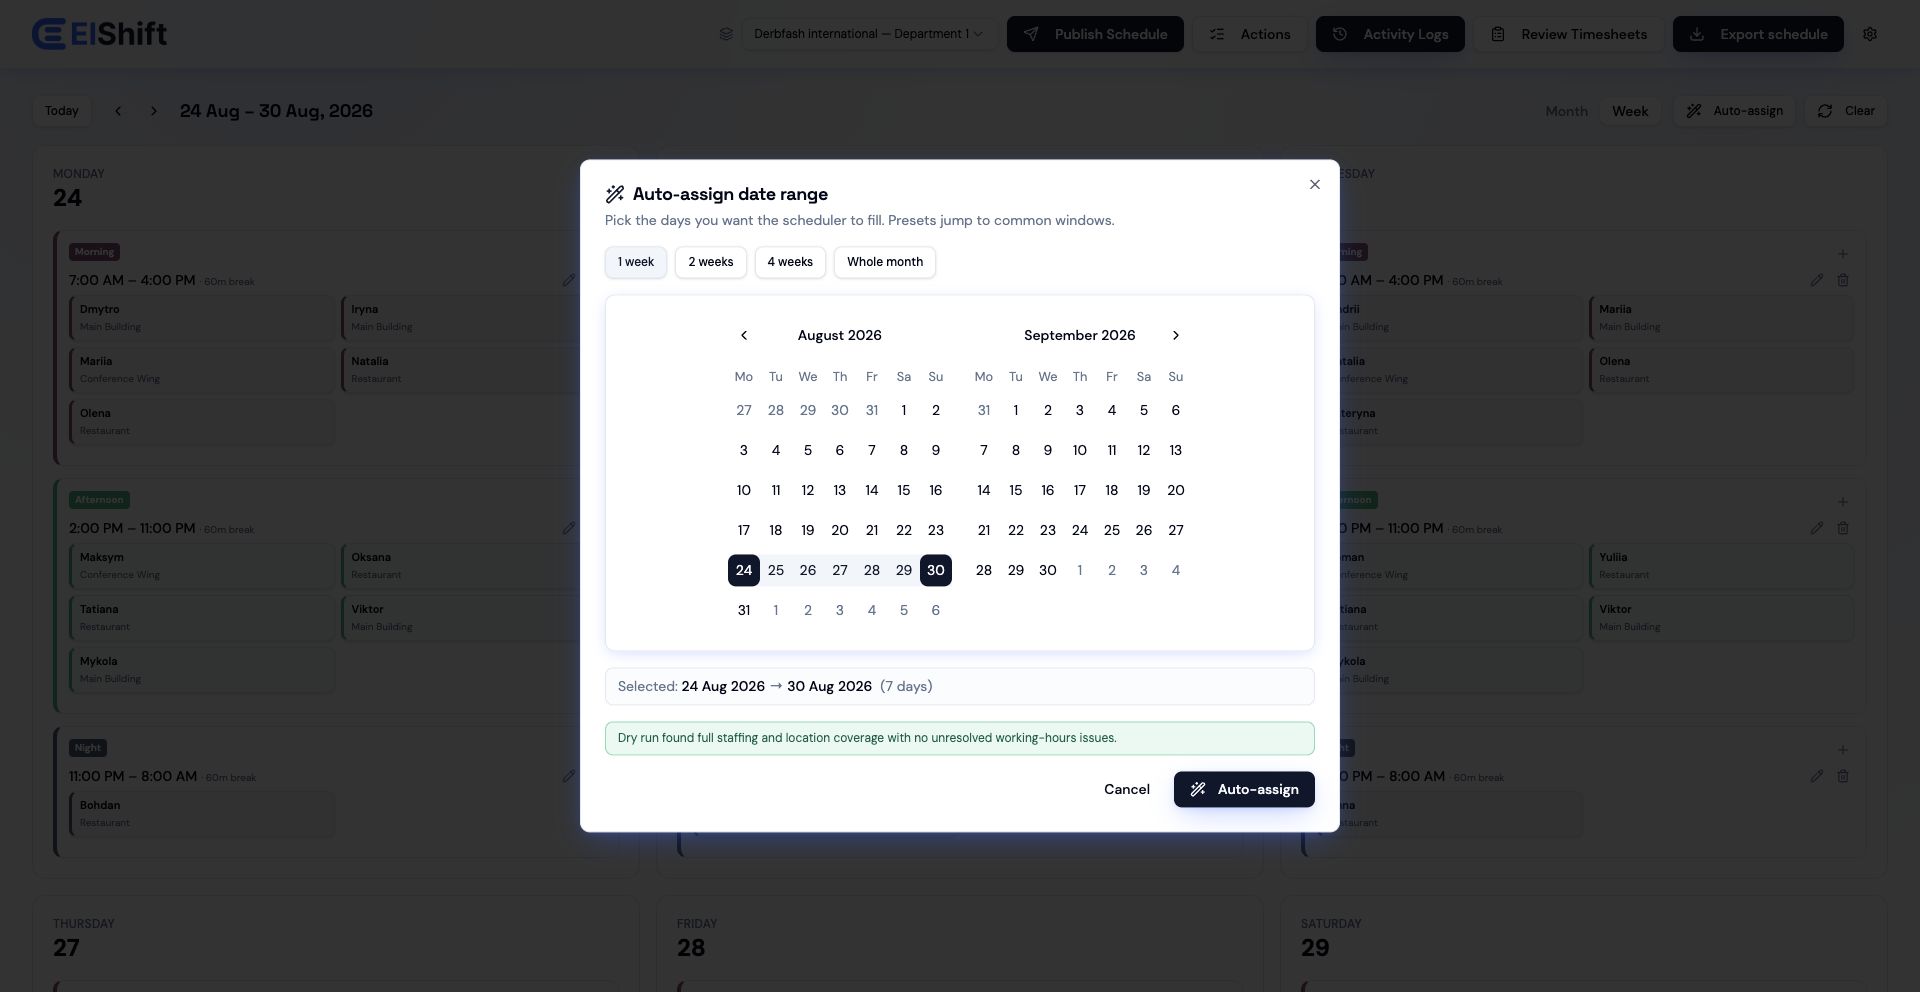
Run Auto-Assign and review the result
Generate assignments for the intended dates, understand partial coverage and know where to inspect the saved run.
1. Run Auto-Assign
- 1.Open the Dashboard and select Auto-Assign.
- 2.Choose the start and end dates you intend to schedule.
- 3.Review the coverage preview and correct obvious shortages first.
- 4.If the range is not Monday through Sunday, choose whether to use the selected dates or expand to full weeks.
- 5.Confirm Auto-Assign.
- 6.Review assignments on the calendar instead of treating a successful run message as the final check.
2. Understand the result summary
The result reports assignment slots added, shifts filled and shifts still short. A run can complete successfully while some demand remains uncovered because there were not enough eligible employees for every requirement.
3. Every run is traceable and restorable
Each Auto-Assign run is recorded in Activity Logs → Schedule Logs with its date range, result details, diagnostics and a restorable assignment snapshot.
4. Retry a failed Auto-Assign run in the intended workspace
If Auto-Assign reports a background planner or runtime error, treat that run as failed. Confirm the active organization and department, then retry the run instead of waiting for the expensive planner to continue on the browser UI thread.
If you changed organization or department while Auto-Assign was running, start a fresh run in the workspace you actually intend to schedule and review the result there. Do not rely on an obsolete or superseded run for another workspace.